How to Set Up a Charging Station for All Your Devices
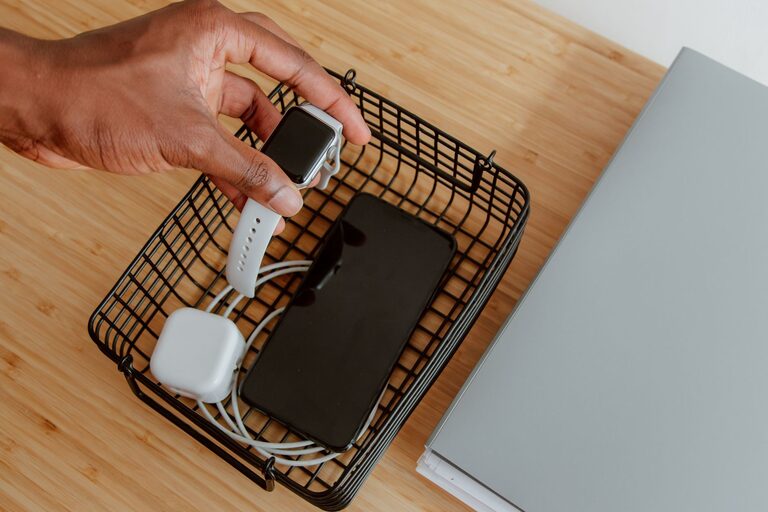
Setting up a dedicated charging station for your devices can save you time, reduce clutter, and make it easier to keep everything powered up. Whether you have smartphones, tablets, smartwatches, or other rechargeable gadgets, a well-organized charging area keeps your gadgets accessible and ready to use. In this guide, we’ll walk you through how to create an effective charging station at home or in the office.
Why Create a Charging Station?
With the growing number of devices we rely on daily, cords and chargers tend to get tangled or misplaced. A charging station helps by:
– Centralizing all your device chargers in one spot
– Reducing cable clutter and tripping hazards
– Making it easy to find and charge devices quickly
– Protecting devices from damage by keeping them off surfaces and neatly arranged
What You’ll Need to Get Started
Before you begin, gather some essential items:
– Power strip or surge protector: Choose one with enough outlets to handle all your devices safely. Surge protection helps prevent damage from electrical spikes.
– Charging cables and adapters: Use the right cables for each device. Keeping extras handy is a good idea.
– Charging stand or organizer: There are many options, from simple trays to multi-device charging hubs.
– Label tags (optional): Useful if multiple people use the station to avoid confusion.
– Velcro or cable ties: These help keep cords neat and prevent tangling.
Step-by-Step Guide to Setting Up Your Charging Station
1. Choose the Perfect Location
Pick a spot that’s convenient and has easy access to an electrical outlet. Common places include:
– A desk or work area
– A living room side table
– A kitchen counter
– Near the entrance or a hallway for quick grab-and-go charging
Make sure the place is well-ventilated to avoid overheating devices while charging.
2. Select a Charging Organizer
Depending on your needs and space, you have a few options:
– Multi-port USB charging station: These hubs often charge several devices simultaneously from one outlet.
– Charging dock or caddy: Holds devices upright and organized while charging.
– DIY trays or boxes: Simple containers with holes for cables can work well for small setups.
Consider the number and types of devices you need to charge regularly.
3. Manage Your Cables
Cable clutter is a common problem. Use the following tips:
– Fold excess cable length neatly or use Velcro ties.
– Label cables if necessary, so you know which charger belongs to which device.
– Use cable clips or adhesive mounts to secure cords to the surface or side of the table.
4. Connect Power and Test
Plug your power strip or surge protector into the wall outlet. Connect all chargers and cables to the power strip, then test each device to ensure they’re charging properly.
5. Maintain Your Station
Keep your charging station tidy by:
– Regularly dusting and cleaning the area.
– Removing devices once fully charged to free up space.
– Updating cables and chargers as devices change or wear out.
Additional Tips for a Better Charging Station
– Use smart chargers: Some chargers detect the fastest charging speed for your device to optimize charging.
– Keep spare batteries or power banks nearby: Handy for quick boosts on the go.
– Add a small basket or drawer: Store extra cables, adapters, and accessories.
– Incorporate lighting: A small lamp or LED strip can make the area easier to use at night.
Benefits Beyond Organization
A charging station improves your daily routine by:
– Reducing stress caused by searching for missing cables
– Protecting device ports from wear and accidental damage
– Encouraging consistent device maintenance and battery care
Final Thoughts
Setting up a charging station doesn’t have to be complicated or expensive. With a little planning and some simple tools, you can create a functional and attractive space to keep all your devices powered and ready. Take a few minutes to organize your cables and chargers today, and enjoy the convenience and peace of mind that comes with a well-designed charging station.